The Ultimate Checklist for a Flawless Garage Door Motor Installation
Introduction
So, you’re gearing up to install a new garage door motor? Whether you’re upgrading or replacing an old one, getting it right is crucial. A flawless installation ensures your garage door operates smoothly and lasts longer. In this guide, we’ll walk you through everything you need to know for a top-notch installation. Ready? Let’s dive in!
Choosing the Right Garage Door Motor
Understanding Motor Types
When it comes to garage door motors, you’ve got options. Let’s break them down:
- Chain-Drive Motors: These are the workhorses of garage door openers. They use a chain to lift the door, making them durable and affordable. However, they can be a bit noisy.
- Belt-Drive Motors: If you’re looking for quiet operation, belt-drive motors are your best bet. They use a rubber belt instead of a chain, making them ideal for homes with living spaces above the garage.
- Screw-Drive Motors: These motors use a threaded steel rod to lift the door. They are known for their reliability and require less maintenance compared to chain-drive systems.
Factors to Consider When Choosing a Motor
Picking the right motor involves a few key factors:
- Door Size and Weight: Make sure the motor you choose is capable of handling the size and weight of your garage door. A motor that’s too weak will struggle and wear out quickly.
- Noise Levels: If your garage is attached to your home or you have living spaces above it, you might want to opt for a quieter motor like a belt-drive system.
- Energy Efficiency: Look for motors that are energy-efficient. They might cost a bit more upfront but will save you money on your electricity bill in the long run.
How to Compare Garage Door Motors
Comparing different motors can be tricky. Look for customer reviews, check out the warranty offered, and consider the reputation of the manufacturer. Don’t hesitate to ask for recommendations from friends or professionals.
Preparing for Installation
Assessing Your Current Garage Door Setup
Before you start, take a close look at your current garage door system. Is everything in good condition? Check the door tracks, springs, and cables. If any parts are worn out, replace them before installing the new motor.
Gathering Necessary Tools and Materials
Here’s a quick list of what you’ll need:
- Essential Tools: Drill, screwdriver, wrenches, and a level. A ladder will also come in handy.
- Safety Gear: Safety glasses, gloves, and a dust mask are crucial for protection.
Clearing the Installation Area
Make sure your garage is tidy and free of obstacles. You’ll need plenty of space to work comfortably. Move any vehicles, tools, or boxes out of the way.
Step-by-Step Installation Process
Step 1: Mounting the Motor
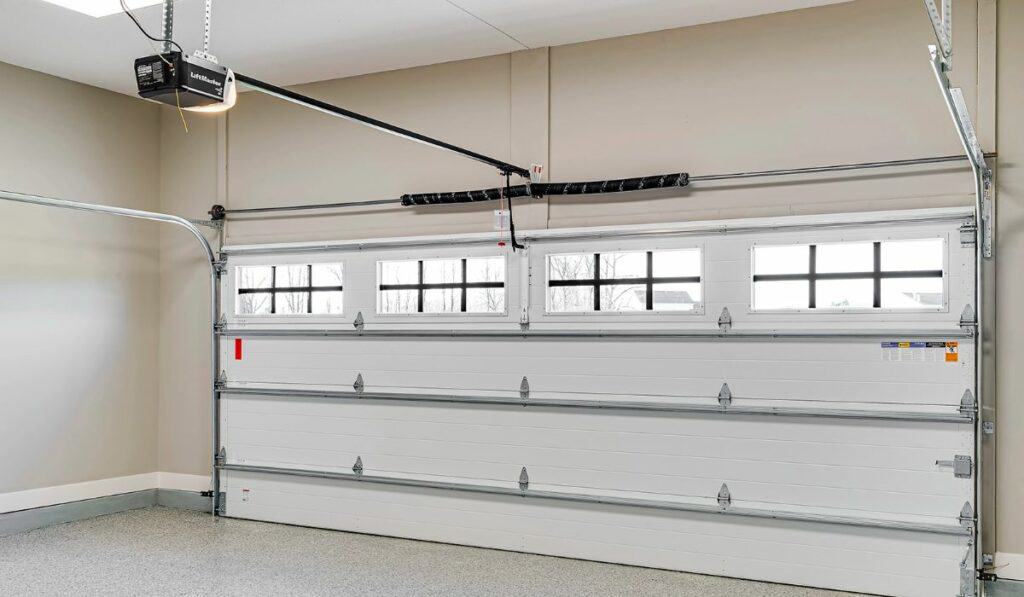
- Selecting the Mounting Location: Choose a spot on the ceiling of your garage that is directly above the center of the door. Ensure there’s enough clearance for the motor and rail system.
- Securing the Motor: Use the provided brackets and screws to secure the motor to the ceiling. Make sure it’s firmly in place to prevent any wobbling during operation.
Step 2: Attaching the Door Bracket
- Positioning the Bracket: Align the door bracket with the top of the garage door. This is where the motor will connect to the door.
- Securing the Bracket to the Door: Use bolts and screws to attach the bracket. Ensure it’s level and securely fastened.
Step 3: Installing the Rail System
- Assembling the Rail: Follow the manufacturer’s instructions to assemble the rail. It should run from the motor to the door.
- Mounting the Rail: Attach the rail to the ceiling brackets. Make sure it’s level and aligned with the door bracket.
Step 4: Connecting the Motor to the Door
- Attaching the Drive Mechanism: Connect the drive mechanism (chain, belt, or screw) to the door bracket. Follow the manufacturer’s instructions for proper alignment.
- Aligning the Motor and Rail: Ensure that the motor and rail are perfectly aligned. This is crucial for smooth operation.
Step 5: Wiring and Powering the Motor
- Understanding the Electrical Connections: Connect the motor to the power source. Follow the wiring diagram provided in the manual.
- Ensuring Proper Grounding: Make sure the motor is properly grounded to avoid electrical hazards.
Step 6: Testing the System
- Initial Tests: Power on the motor and test the door’s movement. It should open and close smoothly.
- Fine-Tuning the Motor: Adjust the settings as needed to ensure the door operates correctly. This might include adjusting the travel limits or force settings.
Safety Tips for Installation
Personal Safety
Always prioritize safety. Wear your safety gear and handle tools with care. If you’re unsure about any step, consult a professional.
Electrical Safety
Be cautious when dealing with electrical components. Make sure the power is off before making any connections.
Dealing with Common Issues
If you encounter problems, such as the door not opening or closing properly, check for common issues like misaligned tracks or loose connections.
Post-Installation Care
Regular Maintenance Tips
Keep your garage door system in good shape with regular maintenance. Lubricate moving parts, check the balance of the door, and inspect the motor periodically.
Troubleshooting Common Problems
If the door behaves erratically or makes unusual noises, it could be due to misalignment or wear and tear. Refer to the manual or contact a professional for assistance.
When to Call a Professional
If you’re experiencing persistent issues or are unsure about any aspect of the installation, don’t hesitate to call a professional. They can diagnose and fix problems that may be beyond your expertise.
Conclusion
Installing a garage door motor doesn’t have to be a daunting task. With the right tools, preparation, and knowledge, you can achieve a flawless installation and enjoy smooth operation for years to come. For expert assistance, check out our Garage Door Motor Installation services.